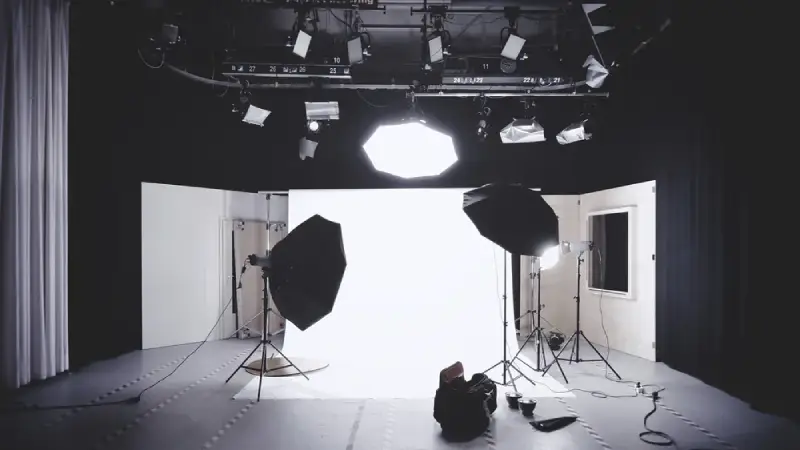
Are you dreaming of creating your own home studio but don’t know where to start? Whether you’re a musician, podcaster, YouTuber, or voice-over artist, having a dedicated creative space can transform your work. In this comprehensive guide, we’ll walk you through everything you need to know to build your very own home studio — without breaking the bank.

Why Build a Home Studio?
Having a home studio offers unmatched flexibility, convenience, and creative freedom. No more expensive hourly studio rentals or long commutes. You can record whenever inspiration strikes, edit your projects on your own schedule, and fine-tune your setup to meet your personal needs.
Step 1: Define Your Purpose
Before buying any gear, get clear on what you’ll use your studio for. Will it be for music production, podcasting, streaming, or video content creation? Your purpose will determine what equipment and acoustic treatments you’ll need.
Ask yourself:
- What type of content am I creating?
- How much space do I have?
- What’s my budget?
Step 2: Choose the Right Space
Pick a quiet, low-traffic area in your home. Spare bedrooms, basements, or even large closets can work. Avoid spaces near noisy appliances or thin walls.
Tips for choosing your studio space:
- Look for rooms with minimal windows to control lighting and sound.
- Carpeted floors help with sound absorption.
- Choose a room with good electrical access for your gear.
Step 3: Plan Your Acoustic Treatment
Sound quality is key. Even with top-tier gear, poor room acoustics can ruin your recordings. Invest in basic acoustic treatment to reduce echoes and background noise.
Start with:
- Acoustic foam panels or bass traps
- Thick curtains or rugs
- DIY sound diffusers made from wood or cardboard
Step 4: Essential Equipment Checklist
Here’s what you’ll need to get started:
1. Computer
A powerful computer is the heart of any home studio. Whether you go for a PC or Mac, make sure it has enough RAM (at least 16GB) and storage space.
2. Audio Interface
This device connects your microphone and instruments to your computer. Popular options include the Focusrite Scarlett 2i2 and the PreSonus AudioBox.
3. Microphone
For vocals and instruments, a condenser mic is ideal. The Audio-Technica AT2020 is a great entry-level choice.
4. Headphones and Studio Monitors
Use closed-back headphones for recording and open-back or studio monitors for mixing. Look into brands like Audio-Technica, KRK, or Yamaha.
🎧 Take a Break & Let the Music Speak
Creating a home studio is all about capturing emotion—and here’s a perfect example of that in action. Click below to experience “Memory” by Dean Fancy, a soulful track that blends ambient vibes with heartfelt melodies. Let the sound transport you while you imagine what your own studio could help you create. Hit play, close your eyes, and get inspired.
👉 Listen Now on SoundCloud
5. Digital Audio Workstation (DAW)
Your DAW is your recording software. Popular free and paid options include:
- Audacity (Free)
- GarageBand (Free for Mac)
- Reaper (Affordable and powerful)
- Ableton Live, Logic Pro X, or Pro Tools (Professional-grade)
6. MIDI Controller (Optional)
For musicians and producers, a MIDI keyboard can make composing easier.
7. Cables, Mic Stand, and Pop Filter
Don’t forget the small stuff! These accessories help you achieve clear, professional-quality recordings.
Step 5: Setup and Organization
Now it’s time to set everything up. Arrange your equipment ergonomically to avoid strain during long sessions. Keep cables organized and label everything.
Tips for setup:
- Place your studio monitors at ear level.
- Use a desk with enough surface space for your gear.
- Install a cable management system to keep the space neat.
Step 6: Test and Calibrate
Once your gear is in place, do a few test recordings. Adjust your microphone placement, monitor levels, and DAW settings until you get a clean, balanced sound.
Test things like:
- Vocal clarity
- Instrument tone
- Background noise levels
Step 7: Optimize Your Workflow
Create templates in your DAW to speed up your process. Save default settings for voice-overs or podcast intros. Use keyboard shortcuts to streamline your editing.
Step 8: Add Personal Touches
Make your studio a place you love spending time in. Add mood lighting, inspirational artwork, or a comfy chair. A space that feels good boosts creativity.
Step 9: Keep Learning
Technology changes fast, so stay curious. Follow YouTubers, join online forums, and take courses to keep improving your skills and upgrading your setup.
Resources for learning:
- YouTube tutorials (like Produce Like A Pro, Podcastage)
- Reddit communities (r/WeAreTheMusicMakers, r/HomeRecording)
- Skillshare or Coursera for DAW-specific lessons
Final Thoughts
Building your own home studio is an exciting journey. It’s a chance to create a space that reflects your personality and supports your creative goals. With the right gear, a little planning, and a touch of patience, you can turn any room into a powerful production hub.
So what are you waiting for? Start sketching your dream studio today and take the first step toward professional-quality sound from the comfort of home!